
Print bleed in Canva ensures your designs extend beyond the edge, preventing white borders. When printing, the bleed area is trimmed, guaranteeing a seamless finish. Understanding what is print bleed in Canva is vital for professional-looking prints. Dive in to master this essential concept for your design projects.

Understanding Print Bleed in Canva
Welcome to our comprehensive guide on understanding print bleed in Canva! If you’re a Canva user looking to create professional-looking printed materials, understanding print bleed is crucial. In this article, we will delve deep into what print bleed is, why it is essential, how to set it up in Canva, and some practical tips to ensure your designs come out looking impeccable.
What is Print Bleed?
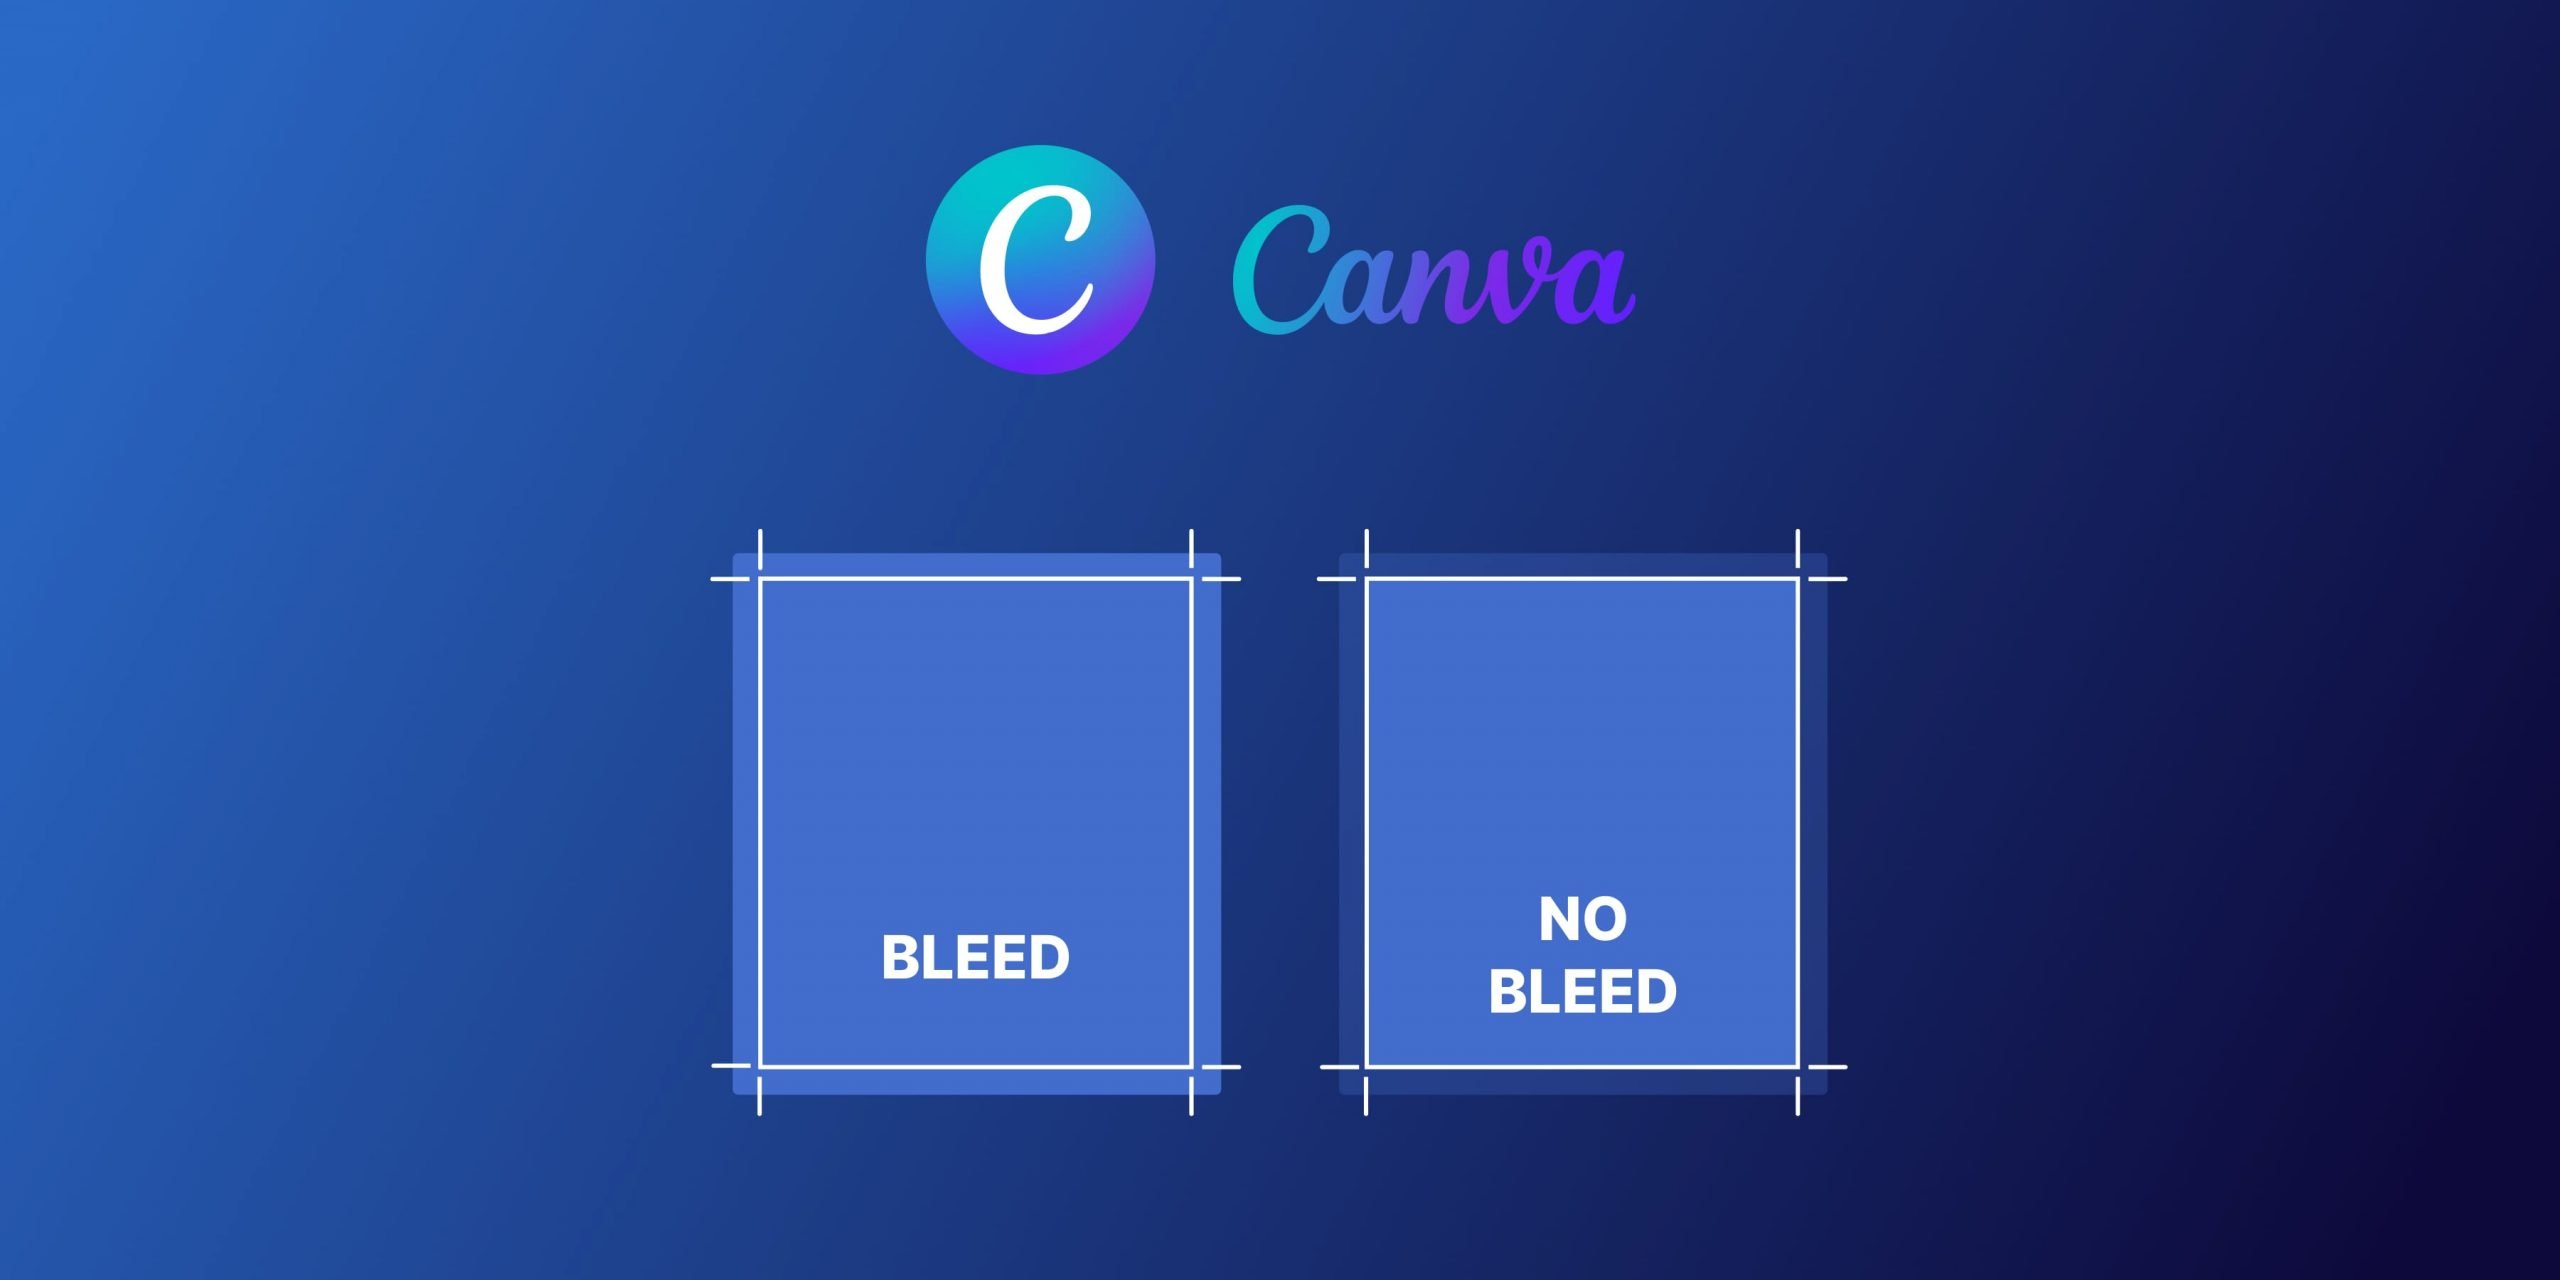
Print bleed is a term used in the printing industry to describe the area beyond the trim line of a document that is intentionally left blank but is crucial to ensure that the final printed piece looks seamless and professional. When a design is printed, the bleed area allows for slight variations in the printing and cutting process without leaving any white borders around the edges.
Imagine you have a beautiful design that extends to the edges of your document. Without bleed, if the cutting is slightly off during the printing process, you may end up with unwanted white margins around your design, which can make it look unprofessional.
Why is Print Bleed Important?
Print bleed is essential because it ensures that your designs look as intended when printed. It gives the printer a margin of error during the cutting process, allowing them to trim the document without risk of white edges appearing. Without bleed, your designs could end up with unattractive borders, making them look amateurish.
Whether you’re creating business cards, flyers, posters, or any other printed materials, incorporating bleed into your designs is vital for a polished and professional appearance. It may seem like a small detail, but it can make a significant difference in the overall quality of your printed materials.
Setting Up Print Bleed in Canva
Now that you understand the importance of print bleed, let’s explore how you can set it up in Canva. Canva makes it easy to incorporate bleed into your designs, ensuring that your final printed materials look flawless. Here’s how you can set up print bleed in Canva:
Step 1: Create Your Design
Start by creating your design in Canva. Whether you’re working on a business card, flyer, or any other print project, design it as you normally would, ensuring that your design elements extend to the edges of the document.
Step 2: Enable Bleed
Once you’ve completed your design, navigate to the “File” menu and select “Print.” In the print settings, you will find an option to enable bleed. Toggle the bleed option on, and Canva will automatically extend your design slightly beyond the trim line to incorporate bleed.
Step 3: Adjust Your Design as Needed
With bleed enabled, you may need to adjust your design slightly to ensure that essential elements are not too close to the edges. Make sure that any text or important graphics are within the safe zone to prevent them from being cut off during printing.
Practical Tips for Print Bleed in Canva
Here are some practical tips to help you work with print bleed in Canva effectively:
Tip 1: Use Guides for Accuracy
Canva allows you to easily add guides to your design, helping you visualize where the trim line is and where your design should extend for bleed. Utilize these guides to ensure that your design elements are properly aligned for printing.
Tip 2: Check Your Settings Before Printing
Before sending your design for printing, double-check your print settings to ensure that bleed is enabled and set up correctly. This simple step can save you from potential printing errors and ensure that your final product looks professional.
Tip 3: Test Print Your Design
If you’re unsure about how your design will look once printed, consider doing a test print on your home printer. This can give you a better idea of how the final product will appear and help you make any necessary adjustments before sending it to a professional printer.
Understanding print bleed is crucial for creating high-quality printed materials in Canva. By incorporating bleed into your designs and following the tips outlined in this article, you can ensure that your printed materials look professional and polished. Remember, the small details matter when it comes to printing, and print bleed is one detail that can make a big difference in the final outcome of your designs. Happy designing!
We hope this guide has been helpful in demystifying print bleed in Canva and empowering you to create stunning printed materials with confidence.
What is print bleed in Canva
Frequently Asked Questions
What does print bleed refer to in Canva?
In Canva, print bleed is the extra area beyond the edge of your design that ensures there are no white borders or gaps after the document is trimmed. It allows the design to extend all the way to the edge, giving a professional and seamless look once printed and cut.
Why is print bleed important in Canva?
Print bleed is crucial in Canva to prevent any unwanted white margins or edges on your printed materials. Without bleed, there may be visible gaps when the document is trimmed to size, which can affect the overall visual appeal and professionalism of your design.
How can I set up print bleed in my Canva design?
To set up print bleed in Canva, you can simply adjust your document size by adding an extra 0.125 inches (or 3mm) around all sides of your design. This extension ensures that your content will extend beyond the final trim size, allowing for a seamless print result.
Can print bleed affect the design layout in Canva?
Print bleed typically does not impact the design layout in Canva, as it only involves extending the background or images beyond the trim edge. Your actual content and layout remain the same; the bleed area is just a precautionary measure to account for any slight cutting variations during the printing process.
Final Thoughts
In conclusion, understanding print bleed in Canva is essential for creating professional-looking designs. Print bleed ensures that your design extends to the edge of the page without any white borders. It is crucial for preventing any unwanted white margins when the design is printed and trimmed. By incorporating print bleed in Canva, you can guarantee a seamless and polished final product for any printed materials.

